Step 2: Cut the shelf. I used my table saw to cut the shelf at my mark, but you could use a miter saw or circular saw too. After that first strip cut fine, I cut the rest of the shelf into strips at that same width. My last strip was a bit wider just because that’s what was left of the shelf, but I figured this would be perfect for that top shelf’s bigger containers.
I lightly sanded my cut edges, just to get off any rough bits.
Step 3: Measure and attach legs. Taking my cut shelf tops back into our kitchen, I started at the bottom shelf and made sure to use the strip that had the “pretty” front edge of the original shelf, since this bottom shelf would be most visible.
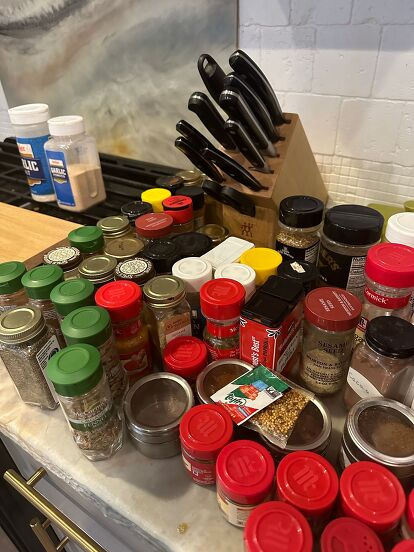
For this bottom shelf, I figured out how tall its legs needed to be. This again was quite easy – I held the shelf over one of those tiny jars to measure. I decided on 2.5 inches to give the jars room to slide in and out.
Back in my garage, I took a scrap 1×3 and cut off two pieces at 2.5 inches. Again, I lightly sanded these, then took them to the kitchen.
Using Brad (my nail gun), I held these little leg pieces under the ends of my shelf top and made sure the edges were lined up and square. I left a little extra leg space on the back for stability, since the 1×3 was slightly wider than the shelf top.
With both legs on at either end, I fit the shelf in place and set one of the medium-sized jars on top. Then I used a tape measure behind that shelf and jar, seeing that my next shelf’s legs needed to be at least 5.5 inches high in order for that next shelf’s jar labels to be visible behind the jars on the lower shelf.
ADVERTISEMENT
