Is your remote control more temperamental than you thought? If the battery change wasn’t glorious, now is the time to check the signal. Most models are infrared remote controls: Technically, a corresponding light-emitting diode is installed on the front and sends a signal (invisible to the naked eye) to the TV. But how do you know if it’s there? The maneuver is very simple, don’t worry. Take your smartphone and turn on the camera. Point it directly at the front of the remote where the LED strip is located, an area recognizable by the semi-transparent plastic. Press any button on the remote and if it emits a signal, you will see the LED light up or flash. If you don’t see any flashes, it means the remote control is not emitting any signal.
What to do when the remote control refuses to work?
Well, how to get out of trouble if replacing the battery didn’t work? Don’t worry, we won’t leave you in this mess, there are other options to try. Starting from this:
Get the remote control, a pencil, pliers and a pencil sharpener.
Sharpen your pencil carefully. And cut a part of it, trying to cut out the same length as a stack.
Sharpen it with a utility knife to have a very sharp tip.
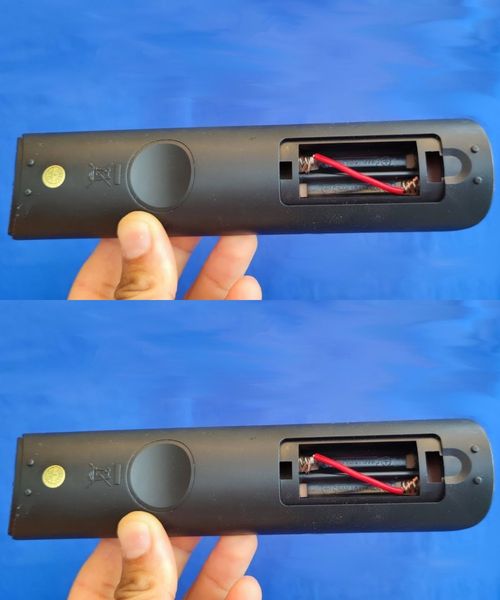
Then take the old battery and, using pliers, remove the upper part of the positive side so that you can insert it into the “fake” battery and make it easier to insert. It’s a small, concave piece of metal.
Then, gently insert the new battery, placing this small piece on the positive side. Place the battery next to it and check if the remote control works.
Normally, since this trick has already been proven, it should work. But be careful, this is only a temporary trick. Sure, you’ll save your batteries for a few days, but it’s better to fix the problem permanently as soon as you have the chance.

Another trick to repair the remote control
ADVERTISEMENT
